How I start Django projects in 2021 in 2**8 simple steps
Last updated January 16, 2021
⚠️ This article is a draft and is not yet complete. ⚠️
I've recently been starting lots of new Django projects, mostly for proof-of-concept ideas, such as how to use Django with Nuxt and a recipe for monthly recurring subscriptions payments with Django and Stripe.
I have several different Django projects that I draw on for common patterns, configuration, settings, utilities, etc. When starting a new project I usually select the "components" that I want from a number of my previous projects or other reference projects on GitHub.
I'm aware of tools like cookiecutter that allow you to build project templates with options through a nice command line utility, but I prefer setting up projects "by hand". If I was creating very similar projects every week, then I might look into using cookiecutter to speed up development if cloning a core template project wouldn't suffice. I'm open to trying cookiecutter to start a Django project sometime soon, though.
In this article I'll walk through my process of starting Django projects in as much detail as possible, step by step. I'm also going to try to incorporate as many of the useful patterns that I know and use.
Wherever possible I'll describe the step in English as well as shell commands. For example:
In English
Create two new files called
A.txt.andB.txt
In shell commands
touch A.txt B.txt
Also, this article will not be limited to Django. I'm going to include some tools and technologies that are getting harder and harder to avoid in modern web development: containers, javascript frameworks and CI/CD tools. I'm going to take a "progressive" approach to introducing these technologies. What I mean by this is that I will show the simplest scenarios for the adoptions of these technologies first, and gradually introduce more complex scenarios for how these "auxiliary" technologies can be used together with Django.
For containers, I'll be using docker containers, for Javascript I'll be using Vue.js and for CI/CD I'll be using GitLab, and in this article I'll only be focusing on the CI of CI/CD (more on that later).
The prequel to this article includes the following:
- basic command line skills
- installing Python 3 on your computerS
- setting up virtual environment with virtualenv
- Installing and setting up docker and docker-compose
- IDE setup, VSCode (Linux, WSL 2 or MacOS)
I'm going to be adding very few of my own Django apps and models in the project. This will mostly be used for illustration, testing, admin, and a few other topics that apply to getting a new project setup.
Hopefully this guide provides a nice "advanced beginner" level walkthrough that can be helpful reference for the next time you start a new Django project.
I'm also going to focus on optimizing this project for collaboration with other developers. I'll point out parts of the project setup are done to facilitate collaboration with other developers.
One more important note: some steps in the project setup process will purposefully break things. This is done to illustrate important settings and to show why some steps need to be taken (for example, CORS).
Step-by-step Django project setup
1. Start with a blank git repo and create two files: README.md and STEP_BY_STEP.md:
touch README.md STEP_BY_STEP.md
README.md will be a brief introduction to the project followed by simple instructions for setting up the project locally. STEP_BY_STEP.md will include our step-by-step instructions for building this project.
This file will document our project setup, step by step.
2. Create a virtual environment
python3 -m venv .env
3. Activate the virtual environment
source .env/bin/activate
4. Make sure pip is upgraded to the latest version
python3 -m pip install --upgrade pip
5. Install Django
pip install Django==3.1.5
Install the latest version of Django. You may also want to install the LTS version. See https://www.djangoproject.com/download/ for more information about Django's long term support releases.
6. Start a new Django project
django-admin startproject backend
This creates a project with the following structure:
$ tree -L 2 backend

backend
├── backend
│   ├── asgi.py
│   ├── __init__.py
│   ├── __pycache__
│   ├── settings.py
│   ├── urls.py
│   └── wsgi.py
├── db.sqlite3
└── manage.py
Note that there are two "backend" folders. I'll refer to these as either backend/ or backend/backend/ for the nested backend folder that contains settings.py
7. Add a `.gitignore file
Here's a good .gitignore file for Python/Django applications:
https://www.toptal.com/developers/gitignore/api/python,django
wget -O backend/.gitignore https://www.toptal.com/developers/gitignore/api/python,django
8. Add a .gitignore file to the root of the project
Add another `.gitignore file, but this time to the root of the project:
echo ".env" > .gitignore
9. migrate and runserver
Let's start our Django project to make sure that everything is working properly:
.backend/manage.py migrate && .backend/manage.py runserver
backend/manage.py migrate && backend/manage.py runserver
Operations to perform:
  Apply all migrations: admin, auth, contenttypes, sessions
Running migrations:
  Applying contenttypes.0001_initial... OK
  Applying auth.0001_initial... OK
  Applying admin.0001_initial... OK
  Applying admin.0002_logentry_remove_auto_add... OK
  Applying admin.0003_logentry_add_action_flag_choices... OK
  Applying contenttypes.0002_remove_content_type_name... OK
  Applying auth.0002_alter_permission_name_max_length... OK
  Applying auth.0003_alter_user_email_max_length... OK
  Applying auth.0004_alter_user_username_opts... OK
  Applying auth.0005_alter_user_last_login_null... OK
  Applying auth.0006_require_contenttypes_0002... OK
  Applying auth.0007_alter_validators_add_error_messages... OK
  Applying auth.0008_alter_user_username_max_length... OK
  Applying auth.0009_alter_user_last_name_max_length... OK
  Applying auth.0010_alter_group_name_max_length... OK
  Applying auth.0011_update_proxy_permissions... OK
  Applying auth.0012_alter_user_first_name_max_length... OK
  Applying sessions.0001_initial... OK
Watching for file changes with StatReloader
Performing system checks...

System check identified no issues (0 silenced).
February 01, 2021 - 00:00:00
Django version 3.1.5, using settings 'backend.settings'
Starting development server at http://127.0.0.1:8000/
Quit the server with CONTROL-C.
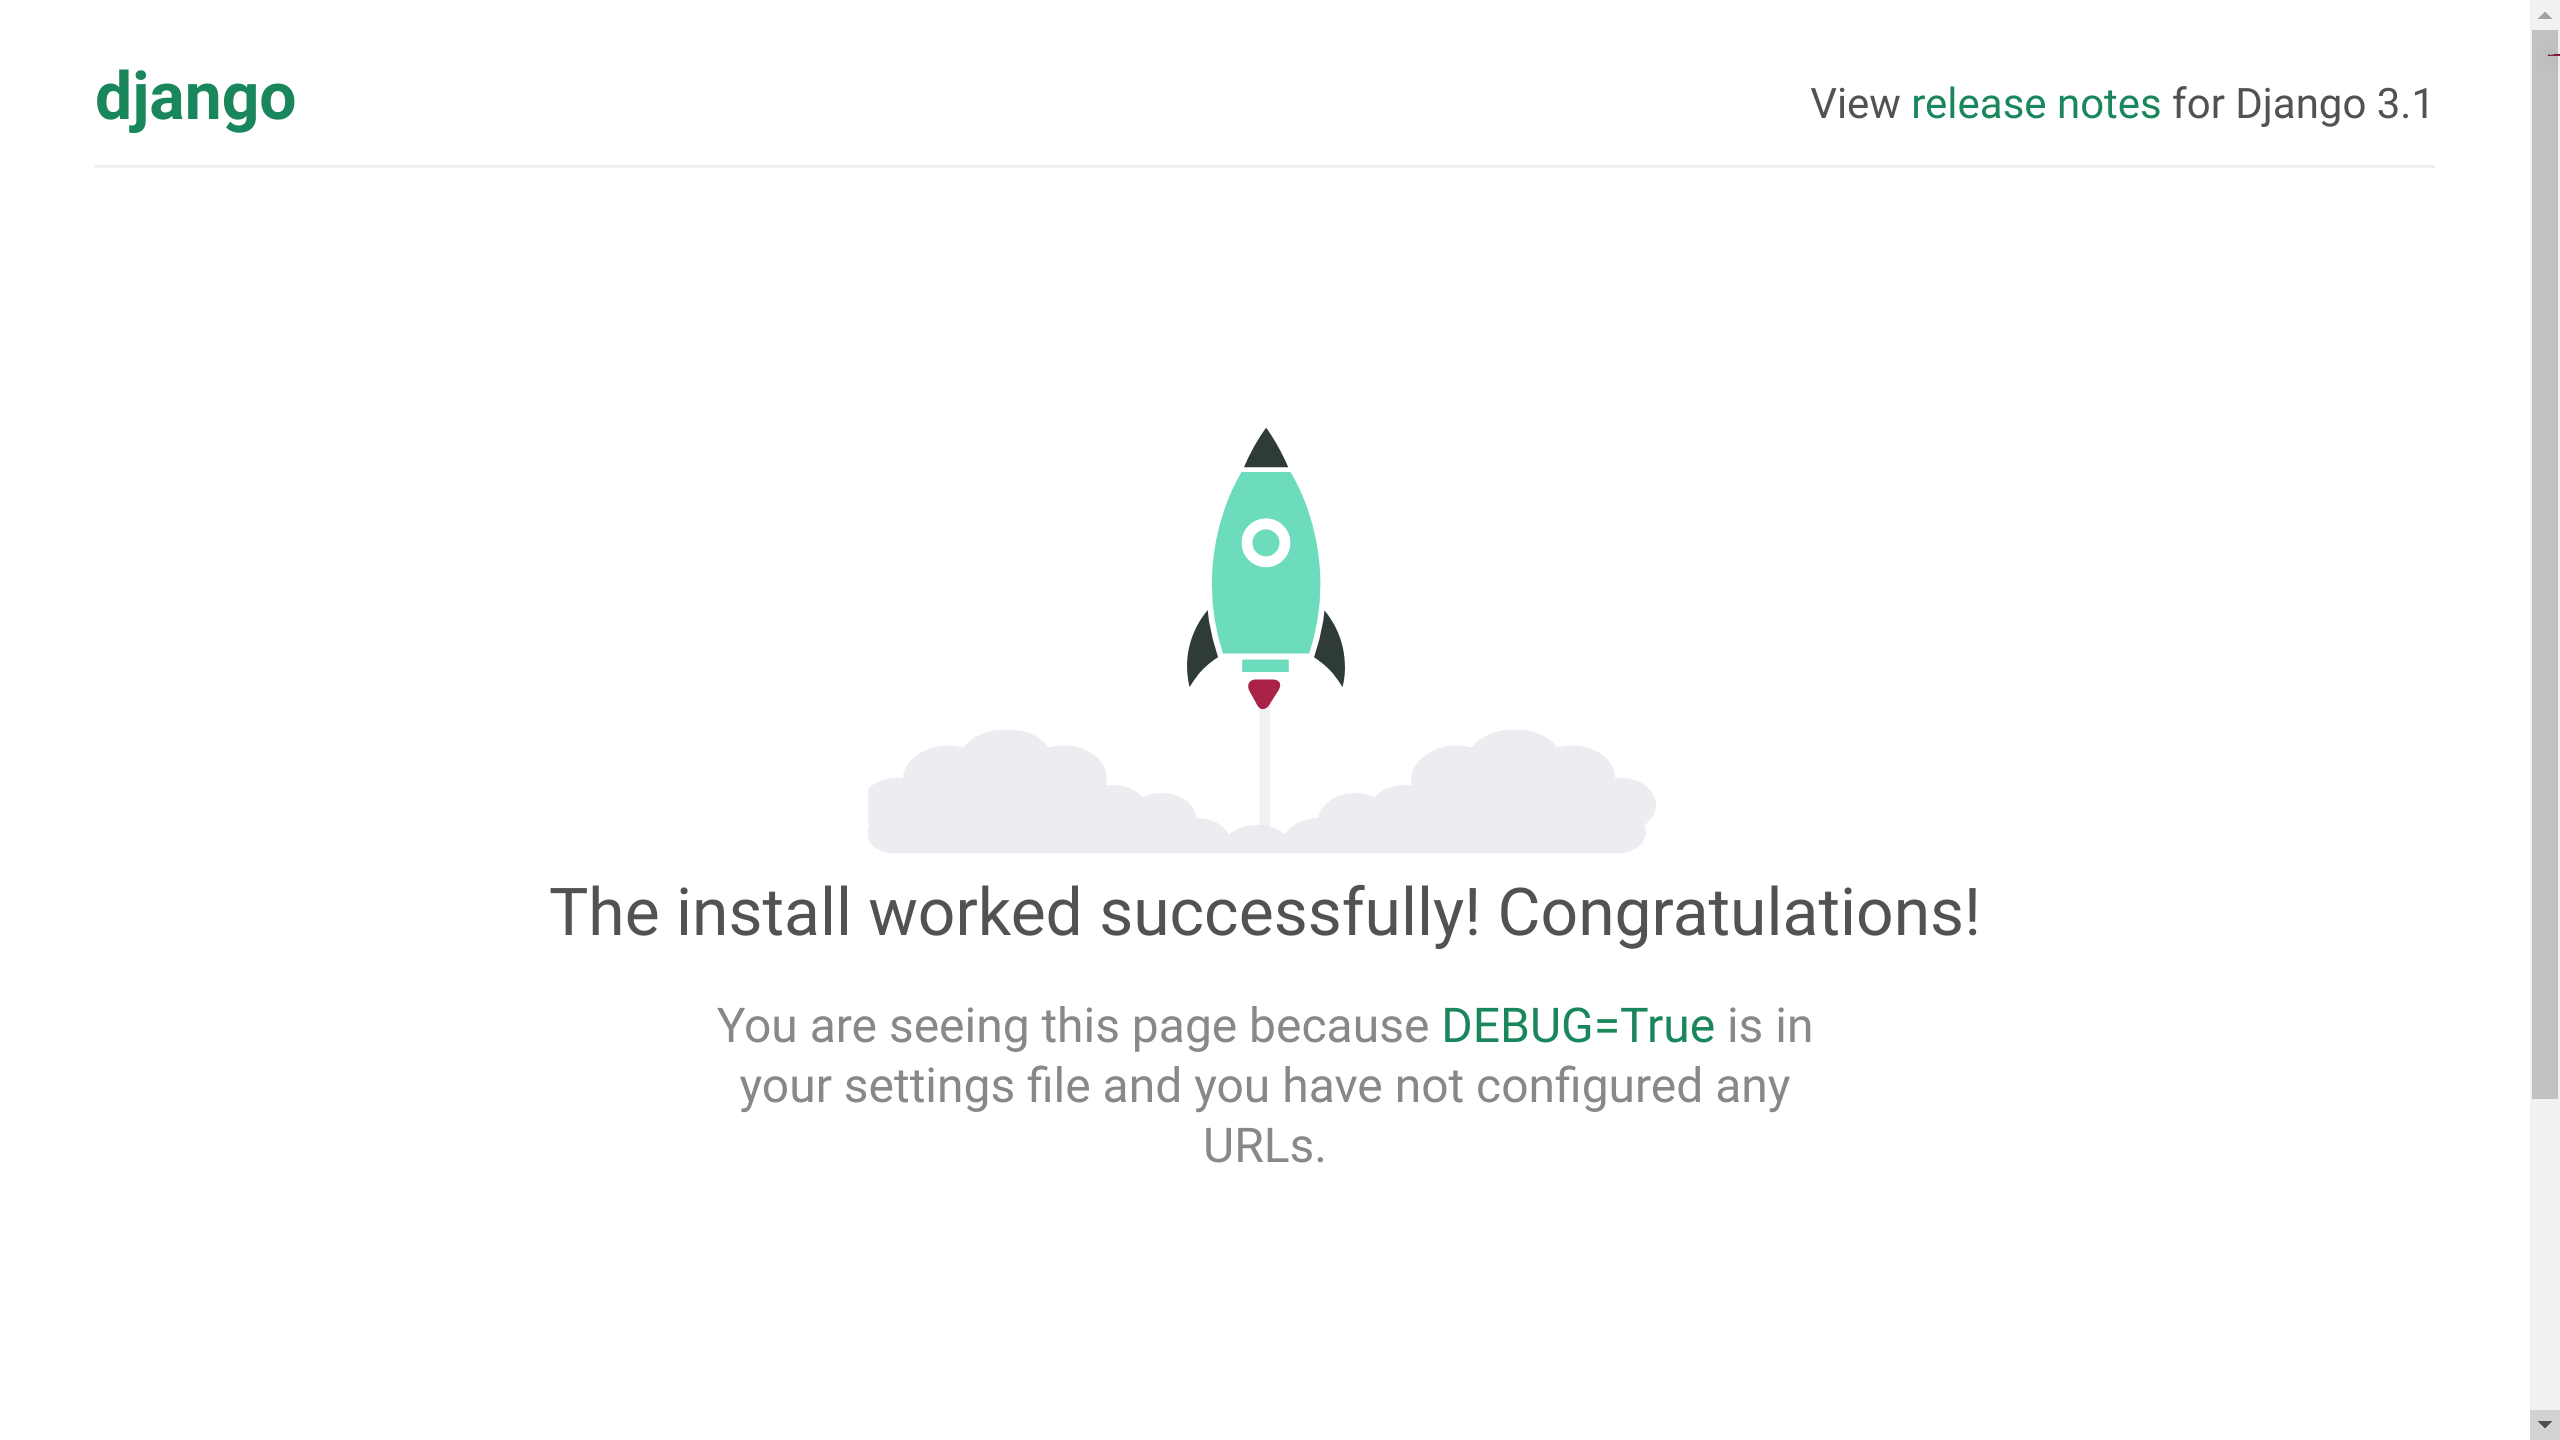
You should see the rocketship animation with the message:
The install worked successfully! Congratulations!
Note that a file called db.sqlite3 was created in backend/. Django uses a default SQLite file-based database for simplicity. We will use Postgres instead of sqlite3, but we will make this change later. For our purposes, SQLite and Postgres function similarly in our local development environment.
10. settings.py file change: SECRET_KEY
By default, Django includes an automatically-generated, hard-coded sensitive value in our settings file called SECRET_KEY.
Open backend/backend/settings.py and change SECRET_KEY to the following:
SECRET_KEY = os.environ.get("SECRET_KEY", "my-secret-key")
also, add the following line to the top of the same file:
import os
This tells our settings file to use the environment variable called SECRET_KEY as the value for the Django settings called SECRET_KEY. If there is no environment variable called SECRET_KEY, the value of my-secret-key will be used as a fallback. At this point we haven't set any environment variables yet, so the value of my-secret-key will be used in our local development environment. Using a fallback value for the SECRET_KEY setting is probably not a good idea. If we forget to set a secure SECRET_KEY value in our production environment, we don't want to use a non-secure SECRET_KEY value like my-secret-key, so we will remove the default setting and set the SECRET_KEY value explicitly in both the local and production environments.
11. settings.py file change: DEBUG
We also don't want to hard-code the DEBUG setting, so this setting value can be changed to:
DEBUG = bool(int(os.environ.get("DEBUG", "1")))
This uses a True default value for DEBUG if the DEBUG environment variable is not set.
12. Move backend/backend/settings.py to backend/backend/settings/base.py and add backend/backend/settings/__init__.py
mkdir backend/backend/settings && touch backend/backend/settings/__init__.py && mv backend/backend/settings.py backend/backend/settings/base.py
If we try to restart the server, we will see that it doesn't work:
django.core.exceptions.ImproperlyConfigured: The SECRET_KEY setting must not be empty.
13. Change the value of BASE_DIR
BASE_DIR = Path(__file__).resolve().parent.parent.parent
We need to add another .parent since the settings module used is now one layer deeper
14. Change DJANGO_SETTINGS_MODULE in backend/manage.py
We need to change the following value in backend/manage.py in order for this settings change to work:
os.environ.setdefault('DJANGO_SETTINGS_MODULE', 'backend.settings.base')
This specifies the exact location of the new settings module to use. In production, we will be setting DJANGO_SETTINGS_MODULE to the value of backend.settings.production which will correspond to another file called production.py that we haven't created yet.
15. Create backend/backend/settings/development.py
The base.py settings module will be used for defining settings that are common to both the development and production environment. We will define development-specific settings in another file that will inherit values from base.py. Create this file:
touch backend/backend/settings/development.py
16. Change DJANGO_SETTINGS_MODULE in backend/manage.py again
Now change the default DJANGO_SETTINGS_MODULE value to backend.settings.development:
os.environ.setdefault('DJANGO_SETTINGS_MODULE', 'backend.settings.development')
17. Add a requirements folder with three files: base.txt, dev.txt and test.txt
mkdir backend/requirements && touch backned/requirements/{base,dev,test}.txt
In base.txt, add the only dependency that we have so far, which is Django:
echo "Django==3.1.5" >> backend/requirements/base.txt
base.txt:
Django==3.1.5
We will add new requirements to these three development files as we build out our project.
The new project directory structure looks like this:
$ tree -L 3 backend/
backend/
├── backend
│   ├── asgi.py
│   ├── __init__.py
│   ├── __pycache__
│   │   ├── __init__.cpython-38.pyc
│   │   ├── settings.cpython-38.pyc
│   │   ├── urls.cpython-38.pyc
│   │   └── wsgi.cpython-38.pyc
│   ├── settings
│   │   ├── base.py
│   │   ├── development.py
│   │   ├── __init__.py
│   │   └── __pycache__
│   ├── urls.py
│   └── wsgi.py
├── db.sqlite3
├── manage.py
└── requirements
    ├── base.txt
    ├── dev.txt
    └── test.txt
18. Create a superuser with createsuperuser
At this point we have a very basic Django application. Django projects are created with a fully-featured admin. The admin is an interface where you can easily create, read, update and delete items from your database. We can view the admin by visiting http://127.0.0.1:8000/admin. This should prompt us for a username and password. We have to create this with the createsuperuser management command:
DJANGO_SUPERUSER_PASSWORD=Qazwsx1! DJANGO_SUPERUSER_USERNAME=brian DJANGO_SUPERUSER_EMAIL=brian@email.com backend/manage.py createsuperuser --no-input
Superuser created successfully.
This command will create the necessary environment variables for the username, email and password for the superuser and create that user without prompting you to type these in the terminal. Try logging in with these credentials to make sure that everything works.
19. Rename the /admin URL
To prevent bots from trying to login to our admin, it is a good idea change the default URL path that Django sets for the Django admin. Let's change admin/ to my-admin-portal/:
backend/backend/urls.py should now look like this
urlpatterns = [
    path('my-admin-portal/', admin.site.urls),
]
20. Rename the virtual environment from .env to something else
When we created our virtual environment with python3 -m venv .env, this created a new folder in the root of our project called .env. Later on we will want to use the name .env for a special file in which we will define our project's environment variables.
Let's remove the .env folder and its contents:
rm -rf .env
And now let's create a new virtual environment with a name other than .env:
python3 -m venv .my-env
Next, we will need to install our project dependencies. To do this, run:
source .my-env/bin/activate
This activates the environment, next use pip to install dependencies into the activated virtual environment:
python3 -m pip install --upgrade pip && pip install -r backend/requirements/base.txt
21. Setup a Django app called core
Next we will add the first app to this Django project. Apps are Django's way of encapsulating logic. My Django projects typically have three apps: core, accounts and some other app that contains the majority of my project's logic.
I use the core app for models, views, middleware and other logic that doesn't directly related to our applications logic. For example, a view that is used for application health checks, a model that is used for logging all requests, and a middleware used to save a record in our database for each request. We will implement these later, but for now let's just add the core app:
mkdir -p backend/apps/core && django-admin startapp core ./backend/apps/core
The core app is created in a folder called apps in the top-level backend/ directory.
When we add this app to INSTALLED_APPS in our base.py settings file, we need to add it like this:
INSTALLED_APPS = [
    'django.contrib.admin',
    'django.contrib.auth',
    'django.contrib.contenttypes',
    'django.contrib.sessions',
    'django.contrib.messages',
    'django.contrib.staticfiles',

    'apps.core'
]
22. Setup a Django app called accounts
mkdir -p backend/apps/accounts && django-admin startapp accounts ./backend/apps/accounts
Add 'apps.accounts' to INSTALLED_APPS:
23. Setup a Custom User Model
Reference: https://testdriven.io/blog/django-custom-user-model/
I have been using the steps described in this article in my recent Django projects for setting up a custom user model. This is a comprehensive guide that covers:
- Tests
- ModelManager
- Model
- Forms
- Admin
- Settings
Setting a custom user model is important to do early in the development of your project (if it is something your project requires)
24. Setup pytest
Setup code coverage reports
Format python code with black
Setup Postgres locally
Run the following command to ensure that Postgres is correctly on you computer:
sudo service postgresql status
● postgresql.service - PostgreSQL RDBMS
   Loaded: loaded (/lib/systemd/system/postgresql.service; disabled; vendor preset: enabled)
   Active: active (exited) since Mon 2021-02-01 19:41:34 EST; 2min 49s ago
  Process: 5543 ExecStart=/bin/true (code=exited, status=0/SUCCESS)
 Main PID: 5543 (code=exited, status=0/SUCCESS)

Feb 01 19:41:34 x1 systemd[1]: Starting PostgreSQL RDBMS...
Feb 01 19:41:34 x1 systemd[1]: Started PostgreSQL RDBMS.
Check which port postgres is running on:
sudo netstat -plunt | grep postgres
tcp        0      0 127.0.0.1:5432          0.0.0.0:*               LISTEN      5491/postgres
tcp        0      0 127.0.0.1:5433          0.0.0.0:*               LISTEN      5490/postgres
Configure our Django application to use our local postgres service
Another approach to running postgres on our machine and an introduction to docker: run postgres in a docker container
Reference: https://hub.docker.com/_/postgres
docker run -d \
    --name some-postgres \
    -p 5434:5432
    -e POSTGRES_PASSWORD=mysecretpassword \
    -v /tmp/pgdata:/var/lib/postgresql/data \
    postgres
You can access the psql shell with the following command:
docker exec -it some-postgres sh
# psql -U postgres
psql (12.1 (Debian 12.1-1.pgdg100+1))
Type "help" for help.

postgres=#
Improve the readability of the command by using docker-compose
version: "2.4"

services:
  postgres:
    container_name: postgres
    image: postgres
    networks:
      - main
    ports:
      - "5434:5432"
    volumes:
      - pg-data:/var/lib/postgresql/data
    environment:
      - POSTGRES_PASSWORD=postgres

volumes:
  pg-data:

networks:
  main:
    driver: bridge
We can use docker and docker-compose for "dockerizing" our application as much or as little as we want. Eventually I'll show how to fully dockerize all components of our application. This will simplify the process of starting the entire project locally and will also ensure that developers don't have any issues with running the application properly.
Setup pgadmin in docker-compose
Add a Dockerfile for our Django application
Setup Django Debug Toolbar
Add runserver_plus and Werkzeug
Add settings for enabling use of Jupyter notebooks
Add Django constance
Add constants file
Add redis to docker-compose file for celery broker
Setup redis-commander
Setup Celery app, celery settings, debug tasks, watchdog commands
Setup celery beat, settings, period task
Setup mailhog for testing email locally
Setup flower for celery monitoring
Setup Django Channels (settings, routers, consumers, async tests)
Setup git hooks in docker-compose
Add Vue in Django templates
Add Vue as standalone SPA (show how API calls will not work without CORS)
Add CORS
Add NGINX and remove CORS
Add NGINX Dockerfile for local development
Setup Vue in NGINX (web-sockets for hot reloading, index.html, etc)
Add Django REST Framework
Setup OpenAPI documentation
Add Session Authentication for Vue SPA
Use Nuxt for SSR
Setup .gitlab-ci.yml
Setup gitlab-runner
Show how to setup e2e tests with Cypress
Draw a project diagram using diagrams.net
Generate model visualizations with graphviz
Optional/Extra steps